


How to Install Underglow Lights: A Simple DIY Guide|BLIAUTO Custom Lighting Installation Tutorial
In the wave of personalized and eye-catching car modifications, underglow lights have become a top choice for many auto enthusiasts. Not only do they make your vehicle stand out at night, but they also improve side visibility and ground illumination to some extent. So, is it complicated to install underglow lights? Actually, as long as you have basic hands-on skills, a DIY installation is absolutely doable.
Today, BLIAUTO brings you a comprehensive DIY guide for underglow light installation, helping you easily get the job done and light up your ride in style!
1. Preparation: Tools and Materials Checklist
Before installation, be sure to prepare the following tools and accessories:
l Basic Tools:
1. Phillips screwdriver / Allen wrench
2. Electric drill (for mounting the light strips)
3. Zip ties, double-sided tape, or clips
4. Multimeter (for checking the power source)
5. Wire stripper, electrical tape
l Accessories:
1. LED underglow light strip kit (Recommended waterproof/dustproof rating ≥ IP67)
2. Controller module (remote or APP control)
3. Fuse (5A–10A, depending on strip power)
4. Wire extension cables (depending on vehicle size)
2. Step-by-Step Installation (Example: 4-strip layout)
Step 1: Test the Light Strips
Before installation, connect the strips to your car battery and make sure they light up properly—avoid the frustration of finishing the job only to find out they don’t work.
Step 2: Choose Mounting Locations
Common light strip placements:
l Front and rear bumpers
l Side skirts or door sills
l Rear crossbeam undercarriage
✅ It’s recommended to mount the strips along the inner edge of the chassis—this keeps them hidden and protects against scraping or water ingress.
Step 3: Mount the Strips
Depending on the length, secure the strips using screws, zip ties, or 3M double-sided tape. Make sure:
The strips are snug against the undercarriage and don’t shake
They don’t interfere with tires, exhaust system, fuel lines, or moving suspension parts
Step 4: Wiring Connections
Following the product manual, route all strip wires into the control module. Run wiring along the vehicle frame to reduce exposure and wear.
❗Wiring Tips:
Wrap all wiring with electrical tape or corrugated tubing for protection
Avoid high-heat areas (e.g., near the exhaust pipe)
Make all connections waterproof
Step 5: Connect to Power
Common power options:
ACC (ignition): Lights turn on when the vehicle is started
Constant power (battery): Lights can be manually turned on anytime
Fuse box tap: Safer and avoids cutting into the original wiring
Use a multimeter to find the right power source and install a fuse to prevent overcurrent damage.
Step 6: Test the Lights and Controller
After powering up, test the lights and confirm the controller functions (color switching, flashing modes, brightness adjustment, etc.).
3. Installation Notes
Important things to keep in mind during installation:
All connections must be insulated and waterproof to prevent short circuits or leakage
Avoid direct light glare into others’ eyes—keep it soft and safe
Never mount on suspension or steering components
APP-controlled kits are recommended for easier customization
4. Vehicle-Specific Recommendations
Vehicle Type Recommended Setup No. of Strips Suggested Length
Compact Car 4-side full underbody setup 4 strips 60cm–90cm
SUV / Off-Road Add fender or rear emphasis 4–6 strips 90cm–120cm
Pickup / Truck Add bed/roof edge lighting 6+ strips ≥120cm
5. Maintenance Tips
Although most underglow lights are designed to be waterproof and dustproof, we recommend regular checks:
Look for loosened or detached strips
Inspect for scratches or damage on the light surface
Ensure the controller is dry and undamaged
Check for aging or frayed wires
Check your setup every 3 months—especially after rainy or snowy seasons.
6. Conclusion: DIY Isn’t Difficult—Precision and Safety Matter
DIY underglow light installation isn't as hard as it looks. By following the proper steps and paying attention to details, you can build your own unique lighting setup. BLIAUTO reminds all drivers: style matters, but safety and legality come first! Make sure your lighting isn’t overly bright, doesn’t interfere with other drivers, and complies with local road regulations.
Learn more about our automotive lighting products.
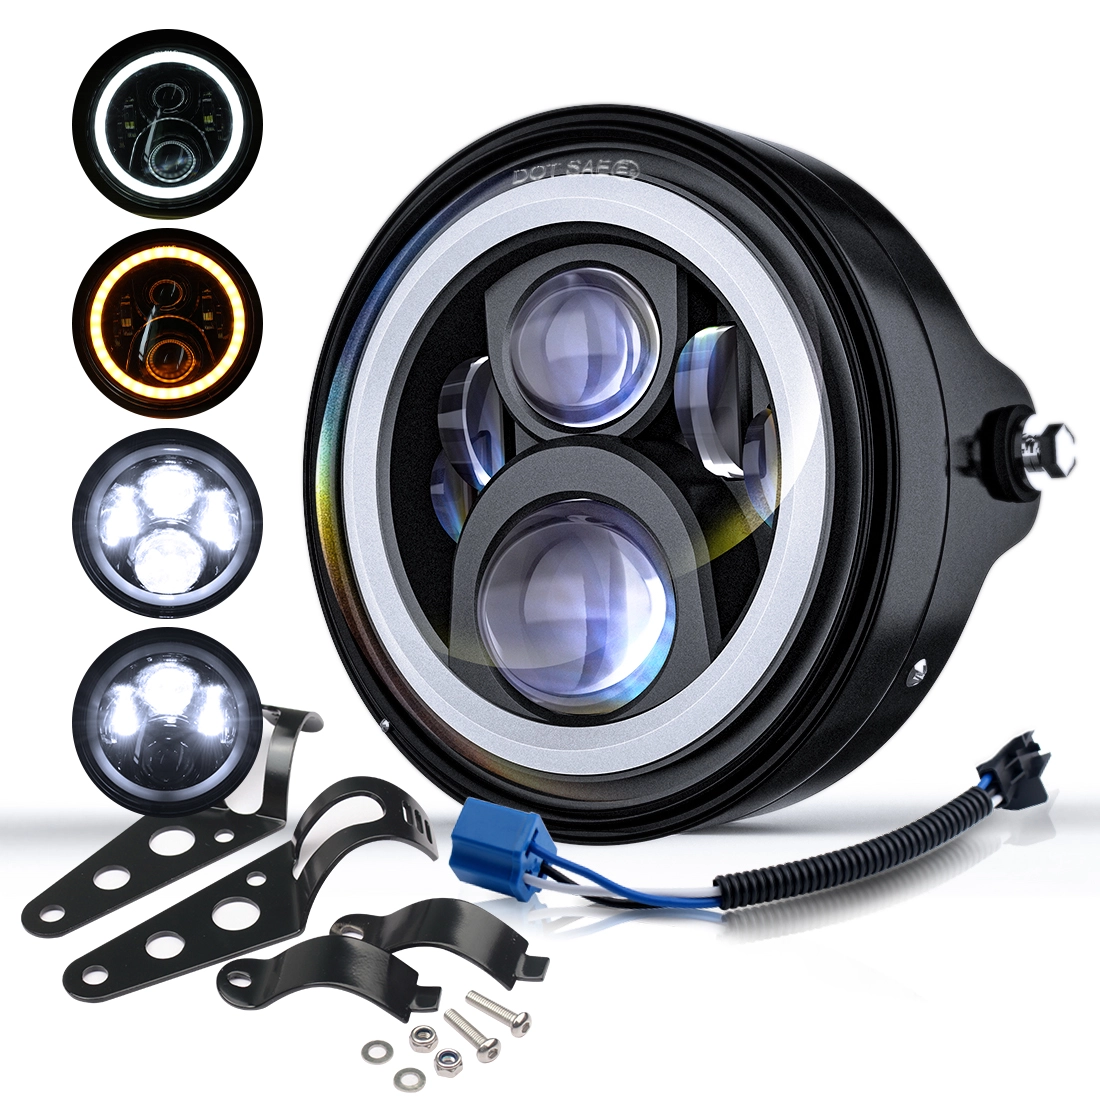
Bliauto Motorcycle Headlight - Model C1H-WA: High-quality LED design from leading brand manufacturers of motorcycle headlights. Precision Manufacturing Motorcycle Headlight ensures high visibility, durability, and easy fit for all riders.

Bliauto JS1 Jump Starter – Reliable Power On-the-Go As a brand manufacturer & wholesale jump starter supplier, Bliauto delivers high-quality portable power solutions. The JS1 Jump Starter provides instant engine starts, USB charging, and durable performance—ideal for emergencies. Trusted by professionals, it’s compact, safe, and backed by expert engineering. Wholesale options are available—power up with Bliauto! Optimized for SEO with target keywords while maintaining clarity and brand authority. Let me know if you'd like refinements!

Bliauto Motorcycle Headlight - Model C1H-HL: High-quality brand motorcycle headlight with durable LEDs, easy installation, and high-beam performance. Trusted brand manufacturers motorcycle headlights for safety. Choose Manufacturing Motorcycle Headlight quality.
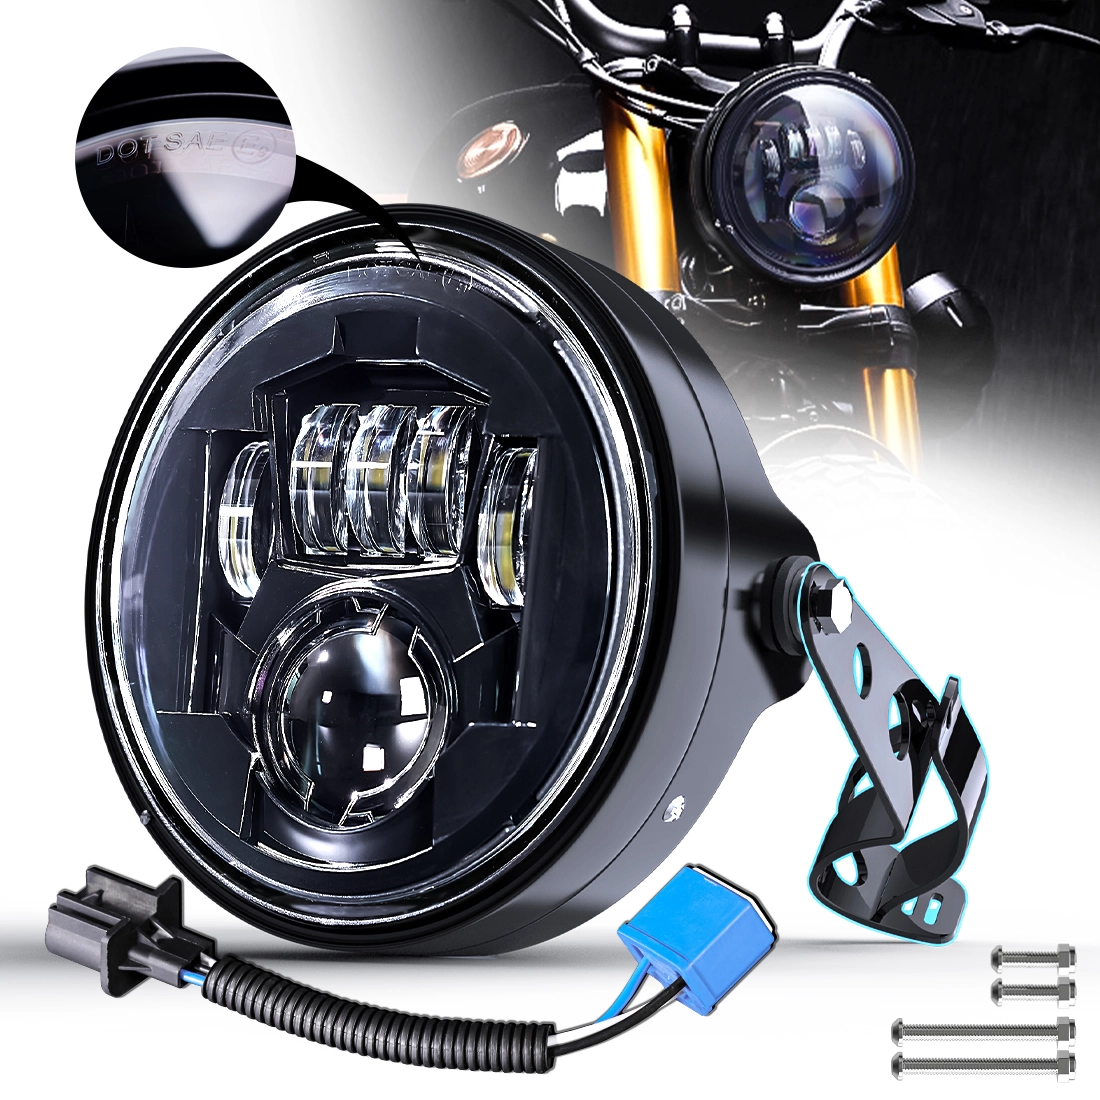
Bliauto Motorcycle Headlight - Model C2H-HL: high-brightness, energy-efficient LED beam for superior visibility and durability. Perfect for brand manufacturers of motorcycle LED headlights, manufacturing motorcycle LED headlights, and brand motorcycle LED headlight supply.
Connect with Bliauto for Automotive LED Lights Solution
Bliauto is dedicated to designing innovative automotive LED lighting systems. Let's talk about your needs!
Your Trusted Partner for Customized Automotive LED Lighting Solutions
© 2025 Bliauto All Rights Reserved.
Bliauto
Bliauto Light
Bliauto
Bliauto Light
Bliauto
Whatsapp: +8618811846160