


The Ultimate Installation Guide for BLIAUTO LED Pod Lights
Manufacturing LED Pod Lights: Bliauto's Installation Guide for BLIAUTO LED Pod Lights—step-by-step advice from Brand Manufacturers LED Pod Lights on wiring, mounting, and troubleshooting for fast, safe installs.
- 1. What Are LED Pod Lights?
- 2. Why Choose BLIAUTO LED Pod Lights?
- 3. Tools You’ll Need for Installation
- Basic Tools
- Electrical Tools
- Optional Tools
- 4. Step-by-Step Guide to Installing LED Pod Lights
- 4.1 Choosing the Right Location
- 4.2 Installing Mounting Brackets
- 4.3 Wiring the Lights
- 4.4 Securing the Lights
- 4.5 Testing the System
- 5. LED Light Mounting Guide
- Height: Mounting for Better Visibility
- Angle: Adjusting for Maximum Effectiveness
- Vibration: Protecting Your Lights
- Positioning for Coverage
- 6. Common Mistakes to Avoid During Installation
- 7. Frequently Asked Questions
- Conclusion
When you're out exploring the wilderness or tackling rugged trails, the right lighting can make all the difference. Off-road vehicles, trucks, and ATVs often find themselves navigating through the darkest and most challenging environments, where factory-installed lights simply won't cut it. This is where BLIAUTO LED Pod Lights come in—compact, powerful, and designed to provide the illumination you need for your off-road adventures.
In this ultimate installation guide, we will walk you through everything you need to know about installing LED pod lights on your off-road vehicle. From mounting and wiring to tips and tricks for optimal performance, this guide will equip you with the knowledge to take your off-road lighting setup to the next level. Whether you're new to off-roading or an experienced enthusiast, we’ve got you covered.
1. What Are LED Pod Lights?
If you're new to off-road lighting, you might be wondering what exactly LED pod lights are. Simply put, these are small, high-powered lights designed for mounting on off-road vehicles such as trucks, jeeps, and ATVs. Unlike traditional headlights, LED pod lights offer focused, high-intensity beams of light that can illuminate the darkest trails, rocky landscapes, or dense woods.
The advantages of LED pod lights over halogen or other traditional lights are numerous:
Energy Efficiency: LED technology uses less power while producing a much brighter light output.
Durability: Designed to withstand the harsh conditions of off-road environments, LED pod lights are built to be impact-resistant, waterproof, and heat-resistant.
Brightness: Depending on the beam pattern you choose (flood, spot, or combination), these lights can either cast a wide light over a short distance or focus a beam far into the distance, making them versatile for any off-road situation.
In the world of off-roading, visibility is crucial for both safety and performance. Whether you're navigating tight trails or clearing obstacles at night, having the right lighting is essential, and BLIAUTO LED Pod Lights are an excellent choice for providing just that.

2. Why Choose BLIAUTO LED Pod Lights?
When it comes to choosing LED pod lights for your off-road vehicle, BLIAUTO stands out from the competition. Here are just a few reasons why:
Superior Build Quality: BLIAUTO lights are made with high-quality materials, including aluminum housing that resists rust and corrosion. This makes them highly durable and able to withstand the harsh conditions often encountered on off-road trips.
Outstanding Light Output: With their powerful LED chips, BLIAUTO LED pod lights provide exceptional brightness, giving you the ability to see even the most challenging terrains at night.
Multiple Beam Options: BLIAUTO offers a variety of beam patterns—spot, flood, and combination beams—allowing you to choose the perfect light for your specific needs. Whether you need a long-range spot beam or a broad flood beam for close-range visibility, BLIAUTO has you covered.
Easy Installation: One of the standout features of BLIAUTO LED pod lights is how easy they are to install. With a user-friendly design and detailed instructions, you'll have your lights up and running in no time, even if you're new to the process.
If you're interested in exploring why BLIAUTO is the best choice for off-road, truck, and ATV enthusiasts, don’t forget to check out our detailed article on Discover Why BLIAUTO Offers the Best LED Pod Lights for Off-Road, Truck, and ATV Enthusiasts.
3. Tools You’ll Need for Installation
Before you start the installation process, it's essential to have the right tools. Fortunately, installing LED pod lights doesn’t require specialized equipment, but there are a few basic tools you’ll need:
Basic Tools
Wrenches and Screwdrivers: These are needed to tighten the mounting brackets securely.
Drill and Drill Bits: If the installation requires drilling holes for mounting, you'll need a drill and appropriately sized bits.
Socket Set: For tightening bolts and fasteners.
Torque Wrench: Ensures that the bolts are tightened to the right torque specifications, preventing damage to the lights or vehicle.
Electrical Tools
Wire Strippers: For stripping insulation from wires.
Crimping Tool: To attach connectors to wires securely.
Multimeter: To test the voltage and ensure proper electrical connections.
Heat Shrink Tubing or Electrical Tape: To protect and insulate exposed wires.
Optional Tools
Zip Ties: For organizing and securing the wiring along the vehicle’s frame.
Vibration Dampeners: Useful for mounting in areas prone to high vibration (e.g., bumpers or roll bars).
Having these tools ready will make the installation process much smoother.
4. Step-by-Step Guide to Installing LED Pod Lights
Now that you have the tools, it's time to start the installation. Follow these steps for a seamless LED pod light setup:
4.1 Choosing the Right Location
Choosing the proper location for your LED pod lights is the first and most important step. Common mounting locations include:
Front Bumper: This location offers a direct and unobstructed view ahead of your vehicle.
Roof Rack or Roll Bars: Ideal for providing a wider, more elevated beam, helping to spot obstacles from a greater distance.
Grille or A-Pillars: Great for additional side visibility, especially when driving through narrow trails or around sharp corners.
Each of these locations has its advantages, so consider your off-roading habits and where you’ll get the most benefit from your lights.
4.2 Installing Mounting Brackets
Once you’ve decided on the perfect location, the next step is to mount the brackets. Here’s how to do it:
Position the Mounting Brackets: Place the brackets in the desired position on your vehicle.
Mark Drill Points: Use a marker or pencil to mark where you will drill holes for the screws.
Drill the Holes: Drill carefully, making sure you don’t damage any underlying parts of the vehicle.
Secure the Brackets: Use the provided bolts, nuts, and washers to secure the brackets to the vehicle. Tighten them using the wrenches.
4.3 Wiring the Lights
After the brackets are in place, it’s time to wire the lights. This is an essential step in ensuring your LED pod lights work correctly.
Run the Wiring: Route the wires from the lights to the vehicle’s power source. Make sure the wires are kept clear of any moving parts or hot surfaces.
Connect the Wires: Strip the ends of the wires, then connect them to the power source (typically the battery or a fuse box). Ensure the positive wire connects to the positive terminal and the negative to a solid ground point.
Install a Fuse and Relay: This is a critical safety step. Install a fuse and relay to protect your electrical system from power surges.
4.4 Securing the Lights
Once everything is wired, mount the lights onto the brackets and secure them. Ensure they are aimed in the correct direction for optimal light output. If your lights are adjustable, take the time to fine-tune their position.
4.5 Testing the System
Now that your lights are mounted and wired, it’s time to test them. Start your vehicle and turn on the lights. Check for proper illumination and ensure that the wiring is secure and functioning.

5. LED Light Mounting Guide
Mounting your LED pod lights properly is crucial for optimal performance and longevity. The right positioning, height, and stability ensure maximum illumination while minimizing wear and tear from vibrations. Here's a concise guide to help you achieve the best setup:
Height: Mounting for Better Visibility
Avoid Obstructions: Ensure your lights are mounted high enough to clear the vehicle's body, grille, or bumper. This prevents blockage and improves light coverage.
Optimal Positioning: For the best range, mount the lights at bumper height or higher, such as on a roof rack or roll bar. This allows for better visibility on rough trails without creating excessive glare.
Clearance: Mount lights where airflow is not blocked to avoid engine overheating. This is especially important for off-road use, where air circulation is critical.
Mounting lights higher up enhances both field of vision and safety.
Angle: Adjusting for Maximum Effectiveness
Beam Pattern: Adjust the angle based on the type of light. For spot beams, mount the lights slightly higher (30-45 degrees) for long-range visibility. For flood beams, angle them lower (10-20 degrees) to illuminate the immediate area around your vehicle.
Avoid Glare: A higher angle reduces glare for other drivers, especially in off-road conditions where excessive light can cause distractions. Aim to position the lights to illuminate the path ahead and prevent blinding.
Adjusting the angle ensures your lights perform effectively without causing glare.
Vibration: Protecting Your Lights
Off-road conditions create significant vibrations that can damage your LED pod lights over time. To minimize wear:
Use Vibration Dampeners: Install rubber gaskets or vibration dampeners between the lights and their mounting brackets to absorb shocks.
Secure Mounting Points: Mount lights to sturdy, vibration-resistant areas like the vehicle’s frame or roll bars. Avoid flexible spots that might cause instability.
Tighten Hardware: Regularly check bolts and fasteners to ensure the lights are securely mounted and won’t loosen from vibrations.
Vibration dampening extends the lifespan of your lights and reduces maintenance needs.
Positioning for Coverage
Even Light Distribution: Place lights evenly across your vehicle to ensure balanced lighting, especially when mounting on the front bumper or roof rack.
Side Visibility: Consider mounting additional lights on the vehicle’s sides for better coverage when navigating tight trails or corners.
Avoid Overlapping: When using multiple sets of lights, space them to avoid overlapping beams. This ensures maximum lighting efficiency without wasting energy.
Proper positioning of your lights ensures a comprehensive lighting setup, improving both front and side visibility.
6. Common Mistakes to Avoid During Installation
While installing LED pod lights is generally straightforward, here are some common mistakes to watch out for:
Incorrect Mounting: Ensure the lights are mounted securely and aimed correctly.
Neglecting a Fuse: Failing to install a fuse can result in damage to your electrical system.
Loose Wiring: Make sure the wiring is secure and insulated to avoid shorts or failures.

7. Frequently Asked Questions
Do I need to drill holes for installation?
Yes, most installations require drilling to mount the brackets securely. However, some vehicles may have pre-existing mounting points that you can use, which eliminates the need for drilling. If you prefer not to drill, consider using universal mounts or adhesive-based solutions, although these may not be as secure as traditional mounts.
Can I install LED pod lights without professional help?
Yes! If you follow the installation guide and take your time, you can install LED pod lights yourself. The process is relatively simple and doesn’t require advanced mechanical knowledge. As long as you're comfortable with basic electrical work and using common tools, you should be able to handle the installation. The included instructions and provided components make the job much easier, even for a first-time installer.
What kind of maintenance do LED pod lights require?
LED pod lights are designed to be durable and low-maintenance. However, it’s important to periodically check the wiring and mounts for any signs of wear or loose connections. Keep the lenses clean by wiping them down with a microfiber cloth to maintain optimal light output. Additionally, inspect the seals and gaskets to ensure they remain intact, especially after heavy off-roading in mud or water.
Are BLIAUTO LED pod lights waterproof?
Yes, BLIAUTO LED pod lights are designed to be waterproof and can withstand exposure to rain, snow, and even submerged conditions (typically to a certain depth). This makes them ideal for off-road use, where wet and muddy environments are common. However, always check the manufacturer’s specifications to ensure they meet the required IP (Ingress Protection) rating for your needs.
How can I adjust the beam pattern of my LED pod lights?
Many BLIAUTO LED pod lights come with adjustable mounts that allow you to change the angle of the light. By loosening the mount screws and repositioning the light, you can adjust the beam pattern to suit your driving conditions. If you're looking for long-range visibility, aim the lights higher. For broader illumination, keep them angled lower. Make sure to retighten the screws after adjusting to ensure the lights stay in place.
Can I install multiple sets of LED pod lights on my vehicle?
Yes, you can install multiple sets of LED pod lights on your vehicle, depending on how much light you need. Just keep in mind that each additional set will require more wiring and possibly a higher-capacity relay or fuse. If you’re planning to install several sets, it’s a good idea to consult an off-road lighting expert or refer to the wiring diagram to ensure your vehicle’s electrical system can handle the load.
Conclusion
With the right tools, proper installation techniques, and a little patience, you can enhance your off-road experience significantly by installing BLIAUTO LED Pod Lights. These lights will not only improve visibility in low-light conditions but also add a rugged, stylish look to your vehicle. By following this guide and regularly maintaining your lights, you’ll ensure they remain effective for years of off-road enjoyment.
For more insights into choosing the best LED pod lights for off-road adventures or to learn why BLIAUTO offers the best products in the market, check out our other resources: How to Choose the Best LED Pod Lights for Off-Road Adventures.
Learn more about our automotive lighting products.
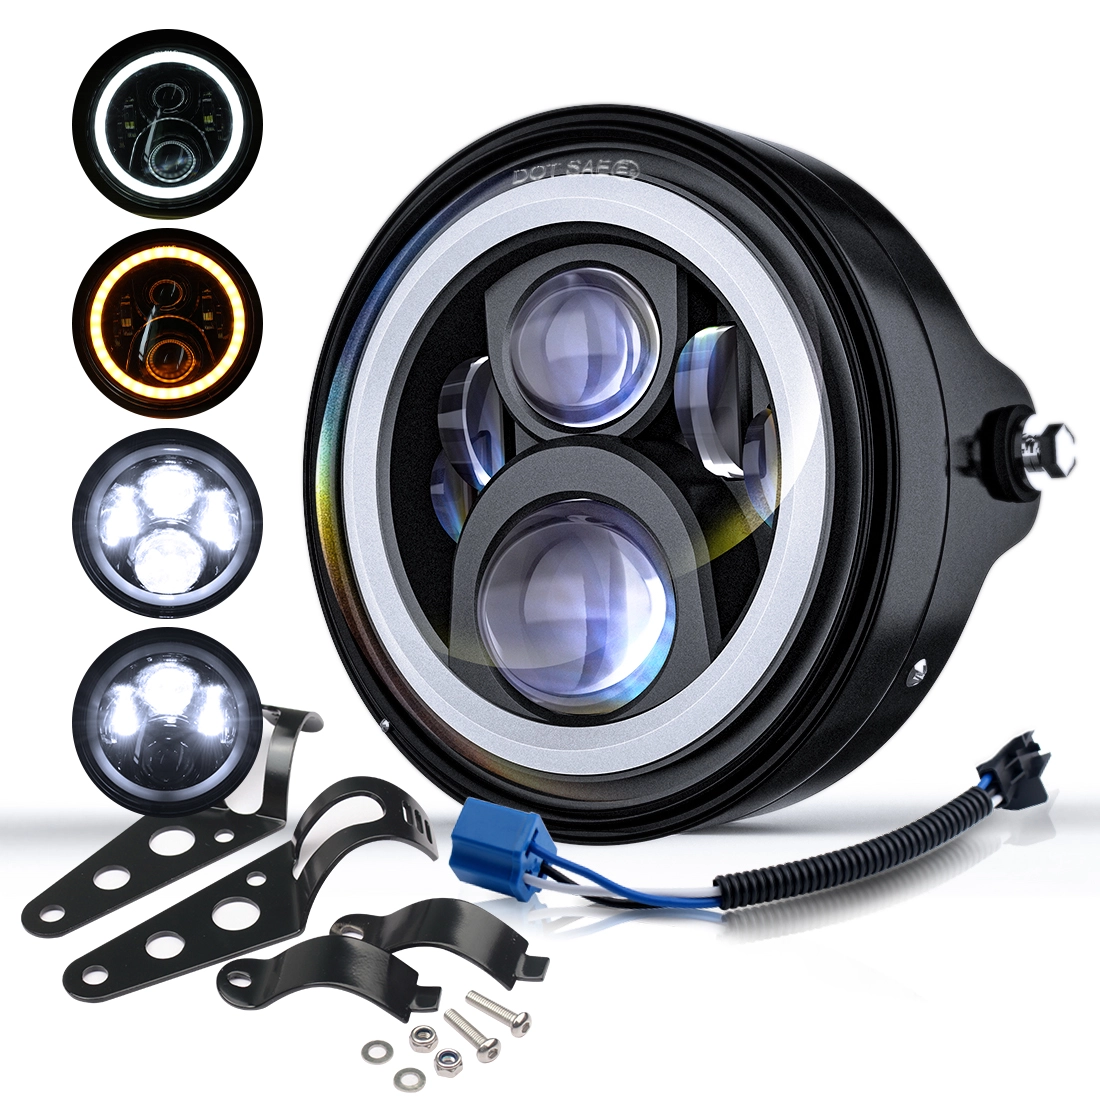
Bliauto Motorcycle Headlight - Model C1H-WA: High-quality LED design from leading brand manufacturers of motorcycle headlights. Precision Manufacturing Motorcycle Headlight ensures high visibility, durability, and easy fit for all riders.

Bliauto JS1 Jump Starter – Reliable Power On-the-Go As a brand manufacturer & wholesale jump starter supplier, Bliauto delivers high-quality portable power solutions. The JS1 Jump Starter provides instant engine starts, USB charging, and durable performance—ideal for emergencies. Trusted by professionals, it’s compact, safe, and backed by expert engineering. Wholesale options are available—power up with Bliauto! Optimized for SEO with target keywords while maintaining clarity and brand authority. Let me know if you'd like refinements!

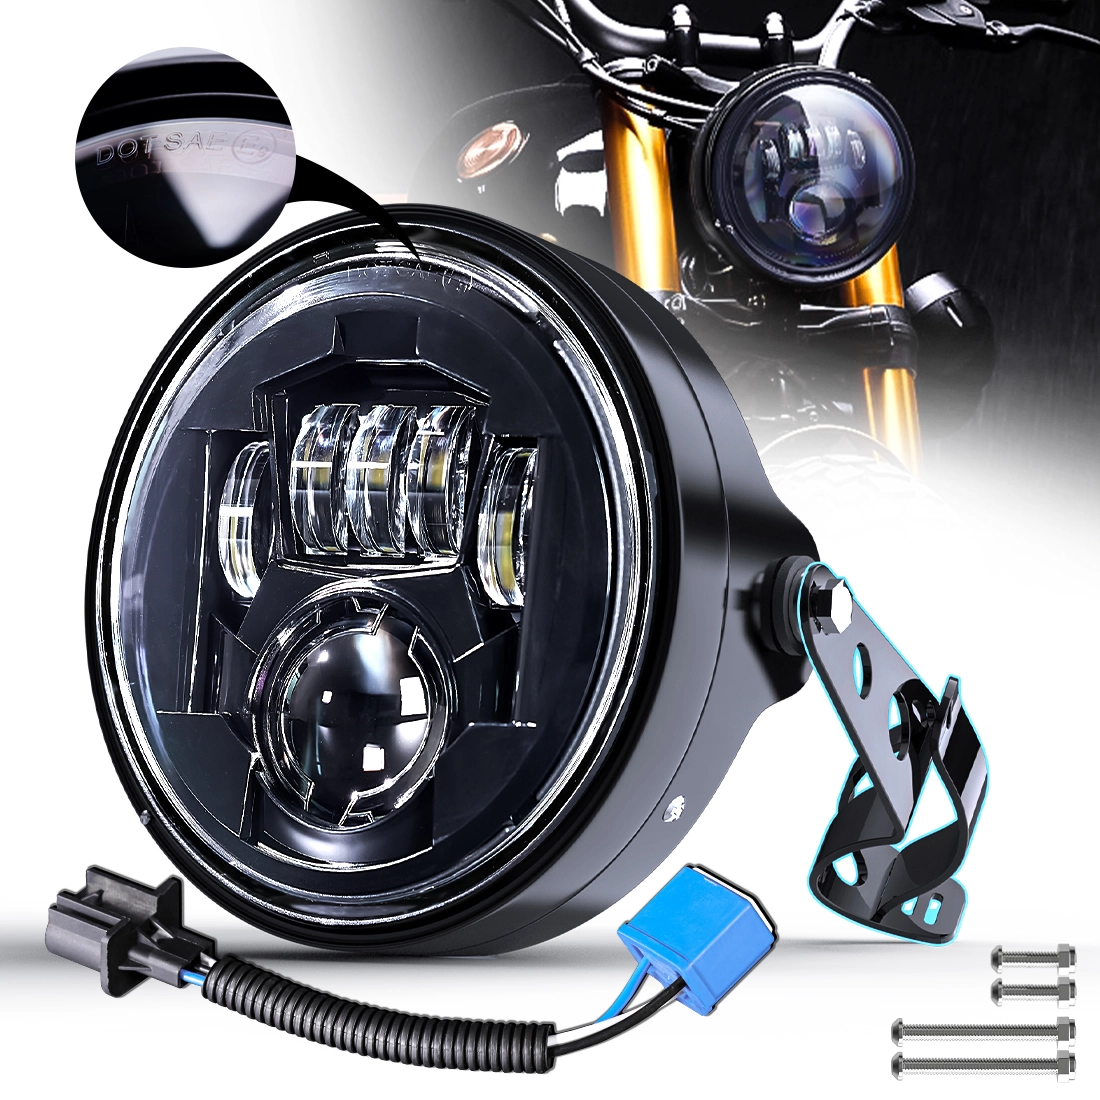
Bliauto Motorcycle Headlight - Model C1H-HL: High-quality brand motorcycle headlight with durable LEDs, easy installation, and high-beam performance. Trusted brand manufacturers motorcycle headlights for safety. Choose Manufacturing Motorcycle Headlight quality.
Bliauto Motorcycle Headlight - Model C2H-HL: high-brightness, energy-efficient LED beam for superior visibility and durability. Perfect for brand manufacturers of motorcycle LED headlights, manufacturing motorcycle LED headlights, and brand motorcycle LED headlight supply.
Connect with Bliauto for Automotive LED Lights Solution
Bliauto is dedicated to designing innovative automotive LED lighting systems. Let's talk about your needs!
Your Trusted Partner for Customized Automotive LED Lighting Solutions
© 2025 Bliauto All Rights Reserved.
Bliauto
Bliauto Light
Bliauto
Bliauto Light
Bliauto
Whatsapp: +8618811846160