Top 10 Mistakes to Avoid When Installing LED Rock Lights
Installing LED rock lights? Don't make costly errors! Discover the top 10 common mistakes to avoid when installing LED rock lights. Our expert guide ensures your off-road lighting is set up perfectly for lasting performance.
- Mistake 1: Choosing Low-Quality LED Rock Lights
- Why Quality Matters
- Real Example
- Mistake 2: Ignoring Proper Placement
- Common Placement Errors
- Correct Placement Strategy
- Mistake 3: Skipping the Planning Stage
- Planning Checklist
- Example
- Mistake 4: Poor Wiring Practices
- Common Wiring Mistakes
- Best Practices
- Mistake 5: Forgetting About Waterproofing
- Waterproofing Steps
- Mistake 6: Not Using a Proper Power Source
- Correct Power Setup
- Real-World Problem
- Mistake 7: Drilling Without Care
- Safe Drilling Tips
- Mistake 8: Neglecting Heat Management
- Heat Management Advice
- Mistake 9: Overlooking Control System Integration
- Tips for Smooth Integration
- Mistake 10: Lack of Maintenance After Installation
- Maintenance Checklist
- Conclusion
Adding LED rock lights to your off-road vehicle is one of the most exciting upgrades you can make. Not only do they give your Jeep, truck, or SUV a rugged and stylish glow, but they also provide functional illumination for trails, campsites, and even roadside emergencies. Yet despite their popularity, many enthusiasts make common mistakes during installation that can lead to poor performance, safety hazards, or wasted money.
This in-depth guide explores the top 10 mistakes to avoid when installing LED rock lights. As an automotive lighting expert, I will walk you through the details, best practices and real-world tips you need to ensure a professional and long-lasting installation.
Mistake 1: Choosing Low-Quality LED Rock Lights
The first mistake is made before installation even begins: buying cheap, poorly built lights. While many budget-friendly options may look tempting online, they often lack durability, brightness and waterproofing.
Why Quality Matters
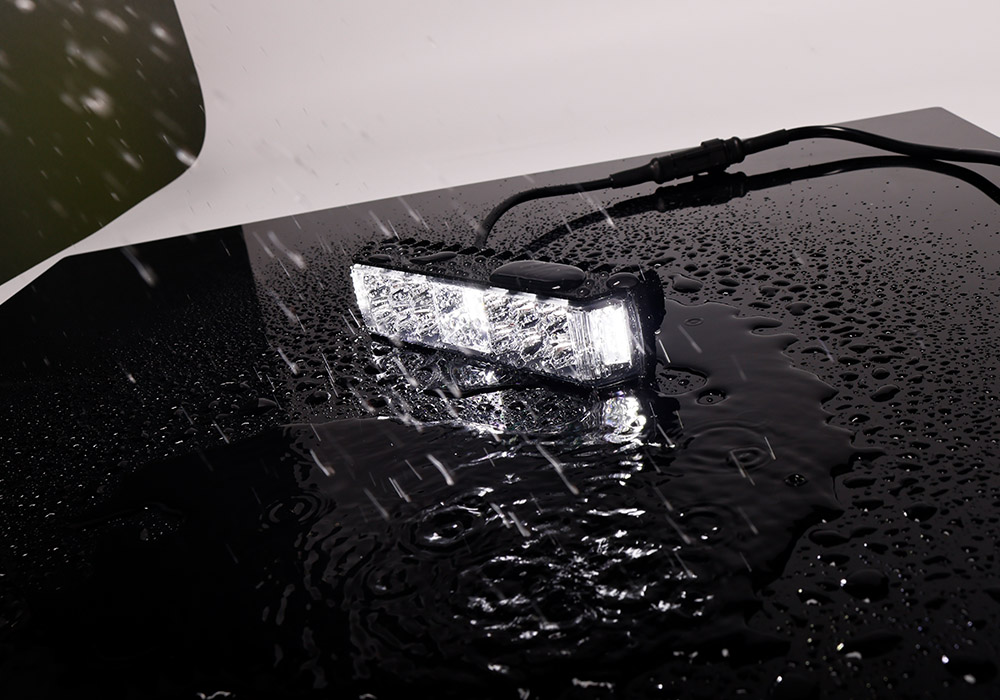
Rock lights are exposed to harsh conditions, such as mud, rain, salt, dust and flying gravel. Poor-quality housings may crack, lenses can fog up and LEDs may burn out prematurely. If you’re serious about performance, invest in the best LED rock lights, which offer features such as:
- IP67 or IP68 waterproof ratings (protection against dust and full water immersion).
- Aluminum housings for better heat dissipation and impact resistance.
- High-lumen output for clear visibility at night.
- Warranty coverage (a sign of manufacturer confidence).
Real Example
A customer installed cheap lights on a raised truck. Within three months, half of them had failed after driving through snow and on salted roads. In contrast, a premium set with proper sealing has lasted years without any problems.
Pro Tip: Always check user reviews, product certifications, and brand reputation before buying.

Mistake 2: Ignoring Proper Placement
Even the brightest LED rock lights won’t look good if they’re poorly positioned. Placement determines both aesthetics and functionality.
Common Placement Errors
- Mounting lights too close to the center creates dark shadows near the tires.
- Installing them too far outward exposes them to rock strikes and road debris.
- Uneven spacing results in patchy lighting.
Correct Placement Strategy
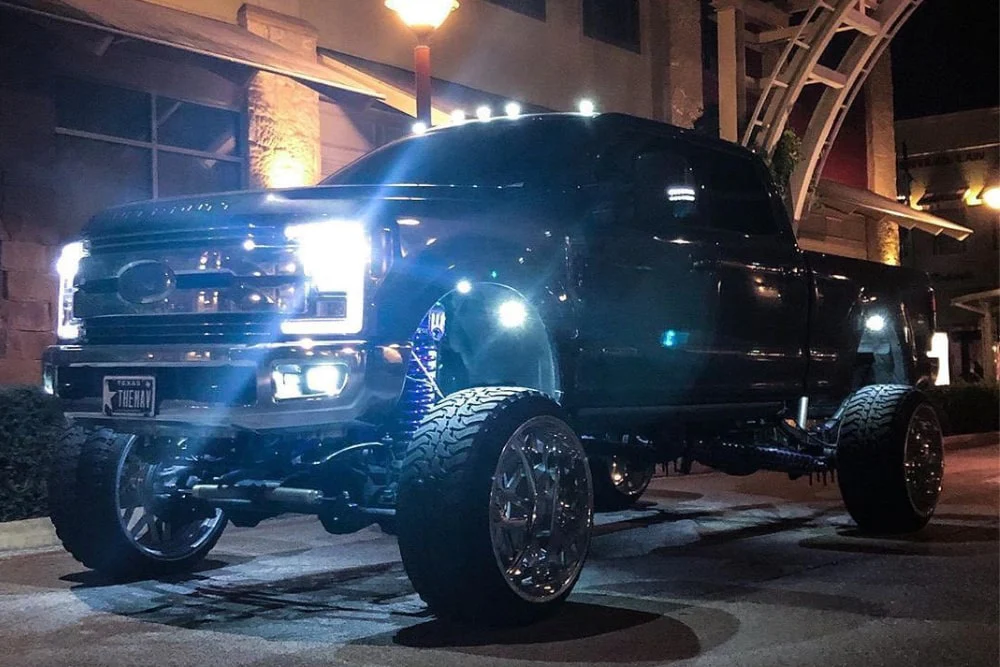
- Wheel Wells: Place one light above each wheel to highlight suspension and tires.
- Undercarriage: Position lights along the frame rails to cast an even glow.
- Front and Rear: Add extra lights near bumpers for full coverage.
For RGB LED rock lights, placement is even more important since uneven spacing can disrupt smooth color blending.
Pro Tip: Temporarily tape lights in place, connect them, and test the effect at night before drilling or permanently mounting.
Mistake 3: Skipping the Planning Stage
Rushing straight into installing LED rock lights without planning first is a recipe for disaster. Many DIY installers realise halfway through that the wires are too short, the switches are in the wrong place, or the control box doesn’t fit.
Planning Checklist
- Diagram your setup – Draw your vehicle and mark light placement.
- Measure wiring routes – Always allow extra length for clean routing.
- Choose your control system – Switch, app-based, or wireless remote?
- Decide power source location – Usually near the battery or fuse box.
Example
A Jeep owner started wiring without planning and discovered the rear lights couldn’t reach the control box. He had to reorder extension cables and redo the entire layout, costing both time and money.
Pro Tip: When learning how to install LED rock lights, plan as carefully as you would for any other electrical project.

Mistake 4: Poor Wiring Practices
One of the leading causes of rock light failures is bad wiring. Exposed or loosely connected wires can lead to flickering lights, shorts, or even electrical fires.
Common Wiring Mistakes
- Twisting wires together without connectors.
- Routing cables near exhaust pipes or sharp metal edges.
- Leaving wires hanging loosely where they can snag.
Best Practices
- Use heat-shrink butt connectors or solder with waterproof shrink tubing.
- Protect wires with loom tubing or conduit.
- Zip-tie wires along frame rails and away from moving suspension parts.
- Always install an inline fuse near the power source.
Pro Tip: A clean wiring job doesn’t just look professional—it saves hours of troubleshooting later.
Mistake 5: Forgetting About Waterproofing
Even if your lights are rated waterproof, the connections are often the weak point. Skipping waterproofing is a fast track to failure.
Waterproofing Steps
- Apply dielectric grease on connectors to prevent corrosion.
- Seal connections with heat-shrink tubing.
- Use silicone sealant around grommets or drilled holes.
- Inspect connections after driving in mud or deep water.
Pro Tip: Many off-roaders carry a small tube of dielectric grease in their toolbox for quick touch-ups.

Mistake 6: Not Using a Proper Power Source
Some people tap into random accessory wires for convenience. This often results in insufficient power, flickering lights, or dead batteries.
Correct Power Setup
- Connect directly to the vehicle battery for a stable power supply.
- Use a relay and fuse to protect the circuit.
- For RGB LED rock lights, make sure the controller is rated for the amperage draw.
Real-World Problem
The truck owner connected his lights to the stereo system wiring. The lights flickered in time with the bass, and eventually both the lights and the stereo failed. This could have been prevented by correct installation directly from the battery.
Mistake 7: Drilling Without Care
Improper drilling can damage critical vehicle components like brake lines, fuel lines, or wiring harnesses.
Safe Drilling Tips
- Always check behind the panel before drilling.
- Use rust-preventive paint around holes to prevent corrosion.
- Pre-drill smaller pilot holes for precise alignment.
- Wear eye protection when working under the vehicle.
Pro Tip: If you’re hesitant to drill, consider magnetic mounts or heavy-duty adhesive pads (though drilling remains the most secure option).
Mistake 8: Neglecting Heat Management
While LEDs generate less heat than halogen bulbs, their drivers and controllers can get warm. If these components are placed near heat sources, lifespan decreases.
Heat Management Advice
- Mount control boxes away from the exhaust or engine bay.
- Ensure airflow around electronic modules.
- Avoid wrapping controllers in insulation or tape.
Pro Tip: A well-ventilated location under the hood or behind a fender liner is usually best.
Mistake 9: Overlooking Control System Integration
Modern systems often include wireless remotes, Bluetooth, or app control. Improper installation can lead to unreliable operation.
Tips for Smooth Integration
- Mount the controller in a spot with clear signal access.
- Keep controllers away from large metal surfaces that block signals.
- Test color changes, brightness, and modes before finalizing the install.
For RGB LED rock lights, proper controller integration is essential to enjoy features like music sync, strobe effects, or custom color settings.

Mistake 10: Lack of Maintenance After Installation
The job isn’t over once the lights are installed. Without maintenance, even the best setup can fail prematurely.
Maintenance Checklist
- Inspect wiring every few months for abrasion.
- Clean light housings to maintain brightness.
- Tighten mounting screws—off-road vibrations loosen hardware.
- Replace damaged zip ties or loom tubing as needed.
Pro Tip: After heavy mud runs or water crossings, wash and inspect your lights promptly.
Conclusion
Installing LED rock lights can dramatically enhance both the style and functionality of your vehicle. However, avoiding these ten mistakes is essential for a safe, reliable and professional installation. Success lies in the details, from planning and wiring to waterproofing and maintenance.
Whether you’re researching how to install LED rock lights or looking to upgrade to the best ones, remember to invest in quality and take your time with the process. Proper installation will ensure that your system looks amazing and lasts for years.
When you’re ready to upgrade, consider Bliauto, a trusted brand renowned for its high-quality automotive lighting products, which combine durability, performance and innovation for enthusiasts and professionals alike.
Ready to get started? Check out our complete step-by-step guide on installing LED rock lights here.
Learn more about our automotive lighting products.

Bliauto LED Rock Lights - Model R6-8PCS offer durable, high-brightness illumination for off-road vehicles. Enhance your truck’s style and visibility with energy-efficient LED rock lights designed for rugged performance and easy installation. Perfect for night adventures and show trucks.

Introducing the Bliauto LED Rock Lights - Model R4-RGBW. Illuminate your adventures with vibrant RGBW lighting, perfect for off-road paths and outdoor pursuits. Enhance your vehicle’s style and visibility with our durable, high-quality LED rock lights. Explore the future of lighting with Bliauto's R4-RGBW technology today.

Illuminate your adventures with Bliauto's LED Rock Lights, Model R2. These RGB LED rock lights enhance your vehicle's undercarriage with vibrant colors and robust durability. Perfect for off-road enthusiasts, they offer customizable lighting to match any mood or terrain. Upgrade to Bliauto for unbeatable performance and style.

Introducing the Bliauto LED Rock Lights - Model R2-RGBW. Experience vibrant illumination with our premium LED rock lights. Perfect for off-road adventures, these RGBW LED rock lights enhance visibility and style. Durable and weather-resistant, Bliauto's cutting-edge design ensures performance and longevity. Illuminate your journey with style and reliability.
Connect with Bliauto for Automotive LED Lights Solution
Bliauto is dedicated to designing innovative automotive LED lighting systems. Let's talk about your needs!
© 2025 Bliauto All Rights Reserved.


Bliauto
Bliauto Light
Bliauto
Bliauto Light
Bliauto
Whatsapp: +8618811846160