


How to Install 4×6 LED Headlights on Your Car: A Complete Guide
Searching for expert guidance on 4×6 LED headlights? Bliauto presents a comprehensive study detailing the precise installation process for your car. Achieve enhanced illumination and safety with our meticulously researched, step-by-step instructions.
- 1. Introduction
- 2. Why Choose 4×6 LED Headlights?
- 2.1 Brightness and Visibility
- 2.2 Energy Efficiency
- 2.3 Longevity and Durability
- 2.4 Instant-On Performance
- 2.5 Environmental and Cost Benefits
- 3. Key Considerations Before Installing
- 3.1 Compatibility
- 3.2 Legal and Safety Issues
- 3.3 Heat Management
- 3.4 Wiring and Power
- 4. Tools and Materials Required
- 5. Step-by-Step Installation Guide
- 5.1 Preparation
- 5.2 Remove the Old Sealed-Beam Headlights
- 5.3 Inspect and Test Wiring
- 5.4 Add Optional Components (CANbus / Relay)
- 5.5 Connect the LED Headlights
- 5.6 Mount the Unit
- 5.7 Align the Beam
- 6. Troubleshooting Common Problems
- 6.1 Flickering or Strobing LEDs
- 6.2 No Light Output
- 6.3 Condensation or Moisture Inside
- 6.4 Overheating or Excessive Fan Noise
- 7. Post-Installation Testing and Validation
- 8. Q&A (Frequently Asked Questions)
- 9. Risks, Safety, and Regulatory Warnings
- 10. Conclusion
- References

1. Introduction
For many classic cars, trucks, and off-road vehicles, the original rectangular 4×6‑inch sealed-beam headlight remains the standard lighting configuration. While functional, these halogen sealed-beam units are relatively dim, short-lived, and inefficient compared to modern alternatives. Replacing them with 4×6 LED headlights brings significant benefits in terms of brightness, power consumption, and lifespan.
LED (Light Emitting Diode) technology has matured to the point where it offers much higher luminous efficacy than halogen lamps, converting a greater proportion of electrical energy into usable light rather than heat (e.g., up to ~80–90% conversion efficiency vs. ~5–10% in halogen). Because 4×6 LED retrofit units are designed to match the physical footprint of sealed-beam housings, they typically require no structural modification. Still, challenges remain in installation, particularly around electrical compatibility, vibration, heat dissipation, and beam pattern. Poor installation can lead to flickering, CANbus error codes, or even dangerous glare.
This BLIAUTO' s guide draws on both practical installation experience and literature on LED benefits and risks to give you a comprehensive path to a safe, effective upgrade.
2. Why Choose 4×6 LED Headlights?
2.1 Brightness and Visibility
One of the major advantages of LED headlights is superior luminous output. LEDs can produce far more light per watt than halogen bulbs, and modern 4×6 LED units often incorporate optics that concentrate light efficiently on the road ahead. According to headlight‑technology analyses, the figure of merit (i.e., how much light reaches the roadway) is significantly higher for LED units than for halogen equivalents. This means better visibility, particularly in low-light and night driving situations.
2.2 Energy Efficiency
LEDs are much more energy-efficient than halogens. Whereas halogen bulbs waste a lot of energy as heat, LEDs convert a high percentage of input power directly into light. Typical LED headlight modules consume in the range of 15–40 W, compared to 55–65 W for many halogen sealed-beam units. This reduced electrical load helps relieve stress on an older vehicle’s wiring and charging system.
2.3 Longevity and Durability
Quality LEDs boast very long lifespans, often rated at 30,000–50,000 hours, far exceeding the 500–1,000 hours typical of halogen bulbs. In addition, LEDs are more resistant to shock and vibration, making them very suitable for trucks, off-road vehicles, or any application where sealed-beam may have been stressed.
2.4 Instant-On Performance
LEDs reach full brightness almost instantly, without the warm-up delay associated with halogen or HID lamps. This can be beneficial not only for driving but also for sign‑off, braking, or other safety-critical lighting applications.
2.5 Environmental and Cost Benefits
Due to their long life and low energy consumption, LEDs reduce the frequency of replacements and lower lifetime energy costs. Their higher efficiency also means a reduced environmental footprint, particularly in electric or hybrid vehicles where energy savings translate directly into extended range.

3. Key Considerations Before Installing
3.1 Compatibility
Physical Fit: Make sure your vehicle actually uses 4×6-inch sealed-beam units.
Connector Type: Many 4×6 LEDs use H4/3-prong connectors, but confirm the exact type.
CANbus Systems: Modern vehicles often have CANbus or bulb-detection systems. Installing LEDs without proper decoders can lead to flickering or bulb-out warnings.
3.2 Legal and Safety Issues
Regulations: In many regions, headlights must be DOT or E‑marked. Using non-compliant LED retrofit units may be illegal or dangerous.
Glare Risk: Misaligned or poorly engineered LED conversions can produce excessive glare. Authorities in some countries have started reviewing headlight glare caused by bright LED retrofits.
3.3 Heat Management
Even though LEDs are more efficient, they still generate heat at the back of the module. High-quality 4×6 LED units include heat sinks or active cooling (fans) to dissipate this heat; make sure there is room in the headlight bucket for such hardware.
3.4 Wiring and Power
Older vehicles may have weak or corroded wiring. A relay harness may be beneficial to ensure consistent, clean power. On the other hand, modern CANbus systems may require decoders or resistive load modules to avoid flicker or error codes.
4. Tools and Materials Required
To perform a safe, effective installation, gather:
Tools:
Phillips and flathead screwdrivers
Socket wrench (appropriate sizes for your headlight retention hardware)
Trim-removal tools
Gloves
Multimeter (very helpful)
Wire crimper and heat-shrink tubing
Materials:
Pair (or more) of 4×6 LED headlight units
Compatible connector (e.g., H4)
Optional CANbus decoder / anti-flicker module
Optional relay harness
Dielectric grease (for moisture protection)
Zip ties
5. Step-by-Step Installation Guide
5.1 Preparation
Safety First: Park your vehicle on level ground and turn off the engine. Disconnect the negative battery terminal to avoid shorts.
Lighting Test: If you plan to align the headlights later, park facing a blank, flat wall with about 20–30 feet (6–9 m) of distance.
5.2 Remove the Old Sealed-Beam Headlights
Remove any bezel or trim ring around the headlight.
Unscrew the retention ring (typically 2–4 screws) and carefully pull the sealed-beam forward.
Disconnect the wiring harness; check the plug for corrosion, heat damage, or loose pins. Repair or clean as needed.
5.3 Inspect and Test Wiring
Use a multimeter to check:
Voltage: On many vehicles, the headlight connector should provide about 12–14 V when the lights are on.
Ground continuity: Poor ground can cause flicker or dimming.
Polarity: Some older vehicles may have inverted wiring for high/low beams.
If voltage is unstable or low, consider installing a relay harness to feed power directly from the battery.
5.4 Add Optional Components (CANbus / Relay)
CANbus Decoder: If your car’s computer is detecting a bulb error or you see flicker, a decoder may be necessary to simulate the load of a halogen bulb.
Relay Harness: Useful for older vehicles to avoid voltage drop and deliver consistent power to the LEDs.
5.5 Connect the LED Headlights
Plug the LED assembly’s connector into the factory wiring harness.
Ensure a secure, tight connection.
Apply dielectric grease to protect against moisture.
Tuck any external LED driver or fan housing safely inside the headlight bucket, ensuring it has space for airflow.
5.6 Mount the Unit
Place the 4×6 LED into the headlight bucket; many units are labeled with a “TOP” mark to denote correct orientation.
Reinstall the retaining ring, tightening the screws carefully so the LED sits flush without distortion.
Re-fit the bezel / trim ring.
5.7 Align the Beam
Proper alignment is critical to avoid glare and maximize safety.
With the vehicle positioned facing the wall, measure the center height of each headlight from the ground and mark that height on the wall.
Then mark a horizontal line 2–3 inches (5–8 cm) below the headlight center—this is where the top of your low-beam cutoff should be.
Turn on the low beams. Use the vertical adjuster screw to raise or lower the beam until the cutoff aligns with the lower reference line.
Use the horizontal adjuster to center the beam laterally.

6. Troubleshooting Common Problems
6.1 Flickering or Strobing LEDs
Causes:
Incompatible vehicle electronics (e.g., CANbus)
Bad ground
Insufficient power
Solutions:
Install a CANbus decoder or load resistor
Clean and secure ground connections
Use a relay harness for stable power
6.2 No Light Output
Check polarity: Some LED modules are polarity-sensitive.
Inspect fuses and relays.
Try swapping the headlight to see if the problem follows the LED or stays in the vehicle wiring.
Temporarily connect the LED directly to the battery (+12 V and ground) to test the unit.
6.3 Condensation or Moisture Inside
Remove the headlight and allow it to dry thoroughly.
Inspect rubber seals and vent membranes; reseat or replace if compromised.
Use dielectric grease around connectors and seals to prevent future moisture ingress.
6.4 Overheating or Excessive Fan Noise
Ensure aluminum heat sinks or fans on the LED units have clearance.
Clean any debris or dust from cooling surfaces.
Confirm that power supply is stable and not overdriving the module.
7. Post-Installation Testing and Validation
Perform a road test at night to verify that illumination is significantly improved and there is no glare or dark spots.
Re-check beam alignment after driving a few miles — vibration or settling can shift aim.
Monitor driver feedback (other drivers, rearview mirrors) for signs of glare.
If possible, pass a safety inspection (or alignment check) that covers headlight aim.

8. Q&A (Frequently Asked Questions)
Q1: Will 4×6 LED headlights fit all older cars?
A1: Only if the vehicle originally used 4×6 sealed-beam units (typically H4651, H4656, etc.). If you have a different headlight size, a different LED kit is needed.
Q2: Do I absolutely need a CANbus decoder?
A2: Not always. If your vehicle does not have sophisticated bulb monitoring or pulse-width modulation (PWM) voltage, a decoder may not be required. However, if you notice flicker, dashboard error messages, or warning lights, a decoder or load resistor may be necessary.
Q3: Are the brighter LEDs dangerous or illegal?
A3: If the LED units are DOT- or E‑marked, they are generally road-legal. But beam alignment is critical: improperly aimed LEDs can cause dangerous glare. Indeed, there is increasing concern about headlight glare from powerful LED retrofits in many regions.
Q4: How long do these LED headlights last?
A4: High-quality 4×6 LED modules often claim lifespans between 30,000 and 50,000 hours, much longer than traditional halogen sealed-beam bulbs.
Q5: Will my alternator or battery cope with LEDs?
A5: Yes — LEDs draw significantly less power (often 1/3 or less) than halogen bulbs, reducing the load on your electrical system.
9. Risks, Safety, and Regulatory Warnings
While LED upgrades bring many benefits, there are real concerns to be aware of:
Glare: Overly bright or misaligned LEDs cause glare for oncoming drivers. There has been increased regulatory and public scrutiny of LED retrofit glare issues. In fact, some governments are reviewing headlight regulations in response to driver complaints.
Quality Variability: Not all LED retrofit kits are created equal. Cheap, non-certified units may lack proper optical design, cooling, or beam shaping, leading to substandard or unsafe performance.
CANbus and Electrical Issues: Without proper decoders or load modules, LED units can interfere with vehicle electronics, cause flicker, or trigger diagnostics.
Heat: Even efficient LEDs produce heat, and inadequate heat management can shorten lifespan or damage the unit.
10. Conclusion
Installing 4×6 LED headlights is one of the most effective upgrades for older vehicles with sealed-beam housings. When done correctly, it yields marked improvements in brightness, energy usage, and longevity. However, achieving a successful and safe upgrade requires more than simply swapping out the old bulb: proper wiring, understanding of vehicle electronics, beam alignment, and choice of a quality LED unit are all critical.
This guide has outlined the essential steps: assessing compatibility, preparing tools and materials, removing old units, making correct electrical connections, mounting, and aligning the new LEDs. It also addresses common issues like flicker, overheating, and moisture ingress, and includes a Q&A section to tackle frequently asked questions. Supported by research on LED efficiency, lifespan, and safety, this guide aims to help DIYers and professionals make educated decisions and perform a reliable, legal upgrade.
References
1.BLIAUTO. (n.d.). The Key Advantages of Brand LED Car Headlights. BLIAUTO Insights. Retrieved from BLIAUTO website. Bliauto
2.Quality Used Motors. (n.d.). LED vs Halogen Headlights: What’s Best for Your Used Car? Quality Used Motors
3.Automotive Quest. (n.d.). LED vs Halogen Headlights: Which Is the Better Choice? The Insurance Universe
4.Getnew.blog. (n.d.). Pros and Cons of LED vs Halogen Headlights for Night Driving. getnew.blog
5.Conpex Group. (n.d.). The Difference Between LED Headlights and Traditional Headlamps: Brightness, Energy Efficiency, and Lifespan Comparison. conpexgroup.com
6.A80 Power Car. (n.d.). How LED Headlights Save You Energy and Money. A80 Power Car
7.MotorVero. (n.d.). LED vs Halogen Headlight Bulbs: Which One Is Better for Your Car? Motor Vero
8.Zonparts. (n.d.). LED vs. Halogen Headlights: Brightness, Cost, and Efficiency. zonparts.com
9.BLIAUTO. (n.d.). Halogen vs LED: A Full Analysis of Pros and Cons. Bliauto
10.Wheels & Wisdom. (n.d.). A Comprehensive Comparison of LED vs Halogen Headlights. wheelsandwisdom.com
11.NAOEVO. (n.d.). Halogen vs LED Headlights: Which Is Better? NAOEVO
12.Sealight LED. (n.d.). LED vs Halogen Headlight Bulbs: What’s the Difference? SEALIGHT
Learn more about our automotive lighting products.
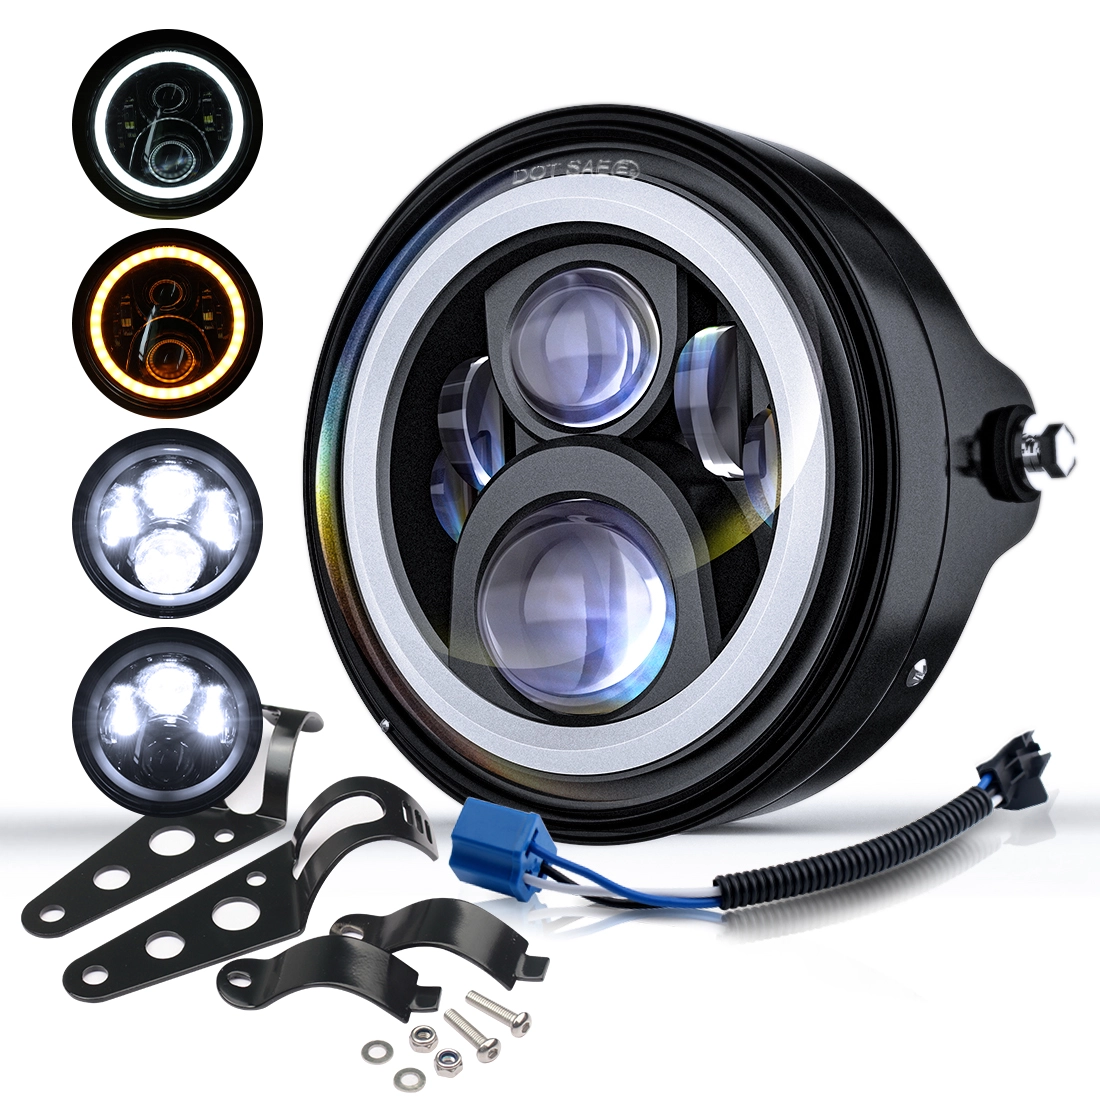
Bliauto Motorcycle Headlight - Model C1H-WA: High-quality LED design from leading brand manufacturers of motorcycle headlights. Precision Manufacturing Motorcycle Headlight ensures high visibility, durability, and easy fit for all riders.

Bliauto JS1 Jump Starter – Reliable Power On-the-Go As a brand manufacturer & wholesale jump starter supplier, Bliauto delivers high-quality portable power solutions. The JS1 Jump Starter provides instant engine starts, USB charging, and durable performance—ideal for emergencies. Trusted by professionals, it’s compact, safe, and backed by expert engineering. Wholesale options are available—power up with Bliauto! Optimized for SEO with target keywords while maintaining clarity and brand authority. Let me know if you'd like refinements!

Bliauto Motorcycle Headlight - Model C1H-HL: High-quality brand motorcycle headlight with durable LEDs, easy installation, and high-beam performance. Trusted brand manufacturers motorcycle headlights for safety. Choose Manufacturing Motorcycle Headlight quality.
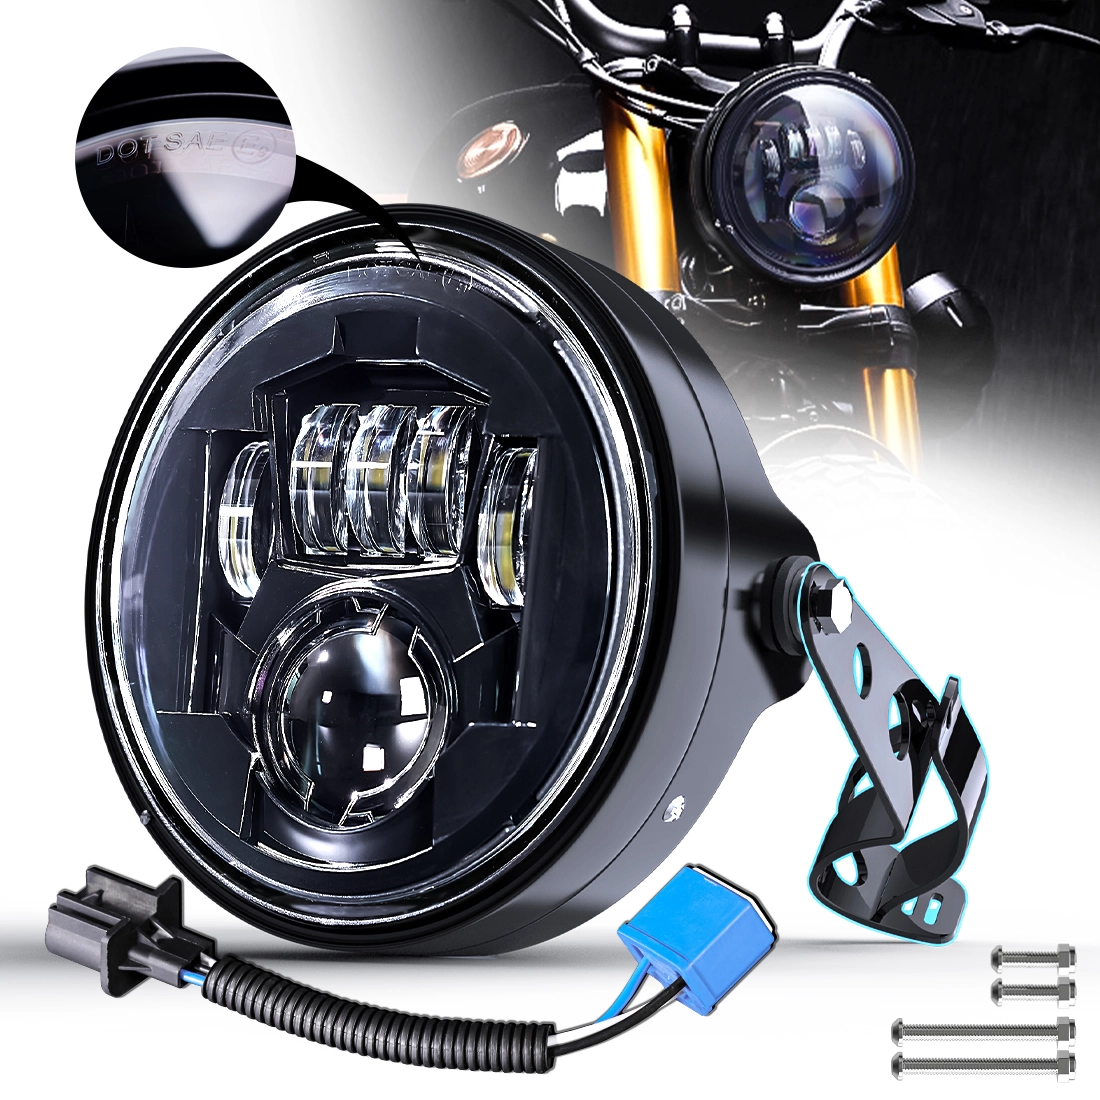
Bliauto Motorcycle Headlight - Model C2H-HL: high-brightness, energy-efficient LED beam for superior visibility and durability. Perfect for brand manufacturers of motorcycle LED headlights, manufacturing motorcycle LED headlights, and brand motorcycle LED headlight supply.
Connect with Bliauto for Automotive LED Lights Solution
Bliauto is dedicated to designing innovative automotive LED lighting systems. Let's talk about your needs!
Your Trusted Partner for Customized Automotive LED Lighting Solutions
© 2025 Bliauto All Rights Reserved.
Bliauto
Bliauto Light
Bliauto
Bliauto Light
Bliauto
Whatsapp: +8618811846160